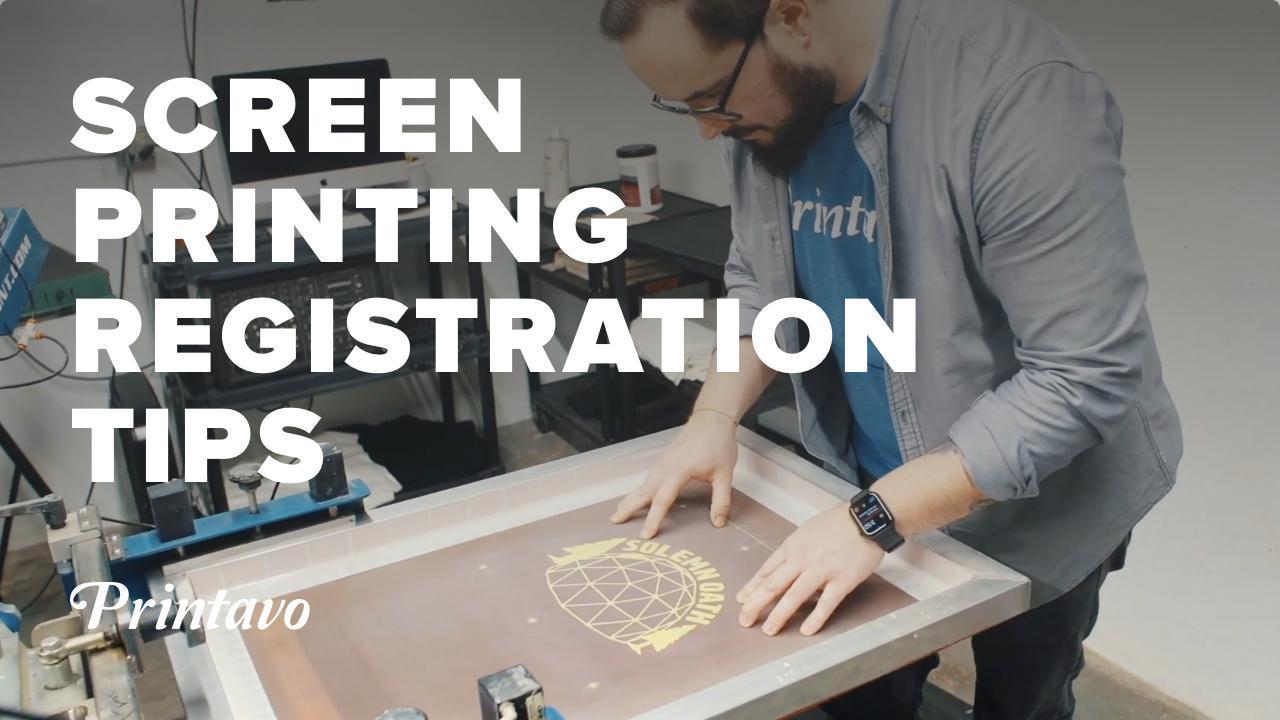
Registering your screens for screen printing is a challenging task. Without perfect registration, your prints suffer! But registration is also a time-consuming (and frankly annoying) part of screen printing.
5 Tips For Screen Printing Registration
Here are our simple tips for better screen printing registration.
1. Use a registration template
A simple layer in Adobe Illustrator (or whatever software you use for screen printing) can make all of the difference to your registration.
Download our template below or make your own.
2. Use a registration system
M&R’s Tri-Loc system cuts down time spent registering by 50-95%, and many other companies offer great registration systems. It’s not cheating, and it’s not a shortcut. It’s a tool!
If you’re NOT using a registration system, use a high-contrast shirt color to line up your screens. This way you can easily see the registration marks and artwork.
3. Check the screens
Are you screens actually good quality? It all starts with good screens. Tension, mesh counts, squeegee. Make sure you’re controlling the variables in screen printing.
4. Use film on press to help
You can use the screen with the most info, line it up on your platen, and then register it that way. This can damage your film and take more time, but it’s a great way to start.
5. Good output = good registration
Don’t skip on registration marks and the small details. Good art output will yield better registration.
Download: Screen Printing Registration Template
Make it easier to register your screens by using an art registration template. This 13″x19″ registration template (downloadable below) allows you to quickly and repeatedly place artwork in an easy-to-register template.
Step 1: Use Adobe Illustrator or Corel Draw to open this template. It’s a PDF file.
Step 2: Use the template as a layer in your artwork or separation.
Step 3: Print your film with the registration template overlaid on each screen’s art.
Step 4: Use the registration template’s targets to ensure your screens align.
Step 5: Do a test print and check registration.
Step 6: Remember to tape over your registration marks!
Finally, be sure to fill out and label your artwork. Organization is key to keeping art together, particularly before you’ve invested in a CTS machine.
Just click the button below and download the file from Google Drive.


0 Comments