Enter a new customer into your Printavo account, then automatically add that customer to your MailChimp mailing list. Automated email campaign generation success!
How? With Zapier’s automation superpowers!
Follow along as Laura from Printavo demonstrates this simple, effective and fast way to level-up your marketing efforts – automatically.
Getting new customers on board with your shop’s email campaigns couldn’t be easier.
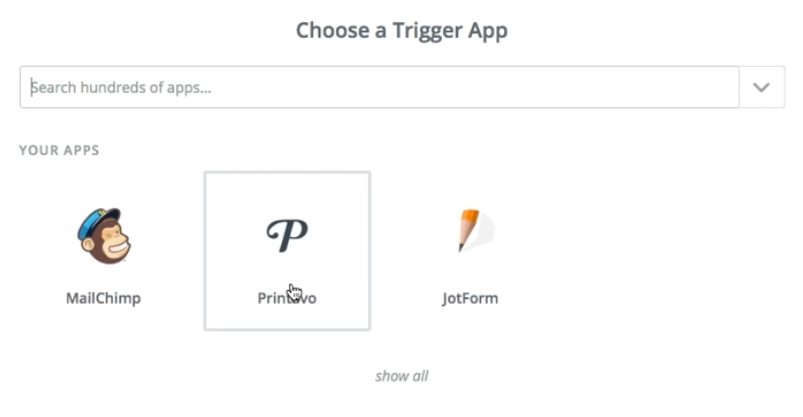
Step 1: Choose your trigger app (Printavo)
Since we’re using a New Customer entry in Printavo as our source, Printavo is the app that triggers the automation.
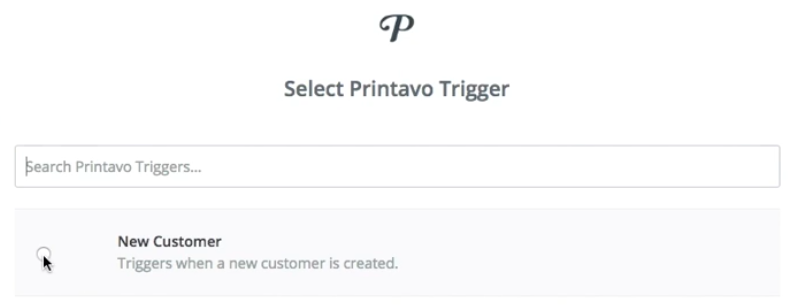
Step 2: Select “New Customer” as your trigger action
You’ll trigger the automation when you enter a new customer into Printavo.
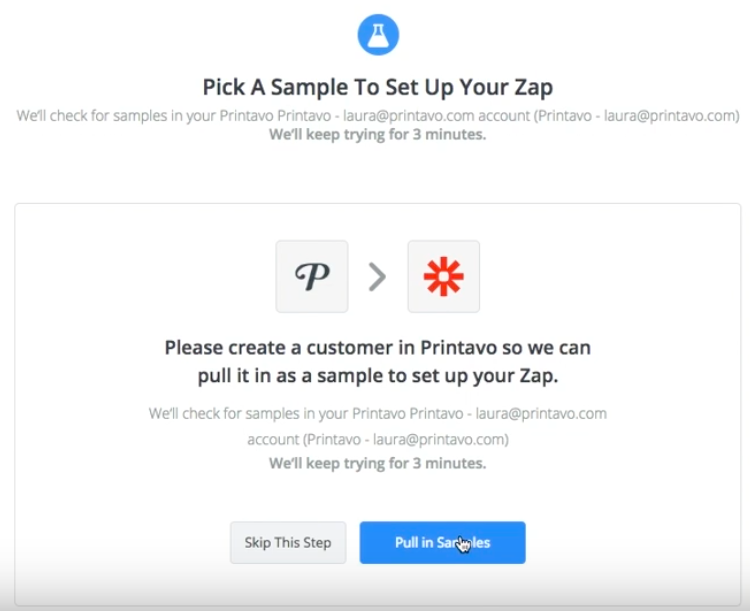
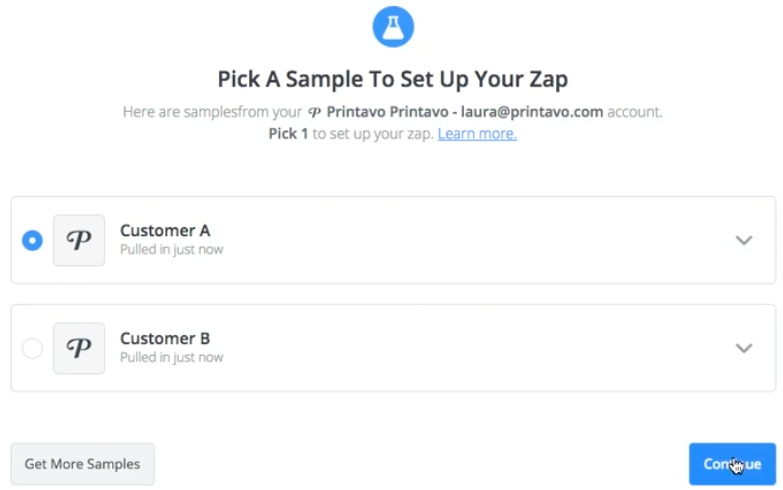
Step 3: Use a sample customer to test your automation
Zapier will attempt to pull the customer information from your Printavo account.
You can select the sample data you’d like to pull from Printavo to MailChimp.
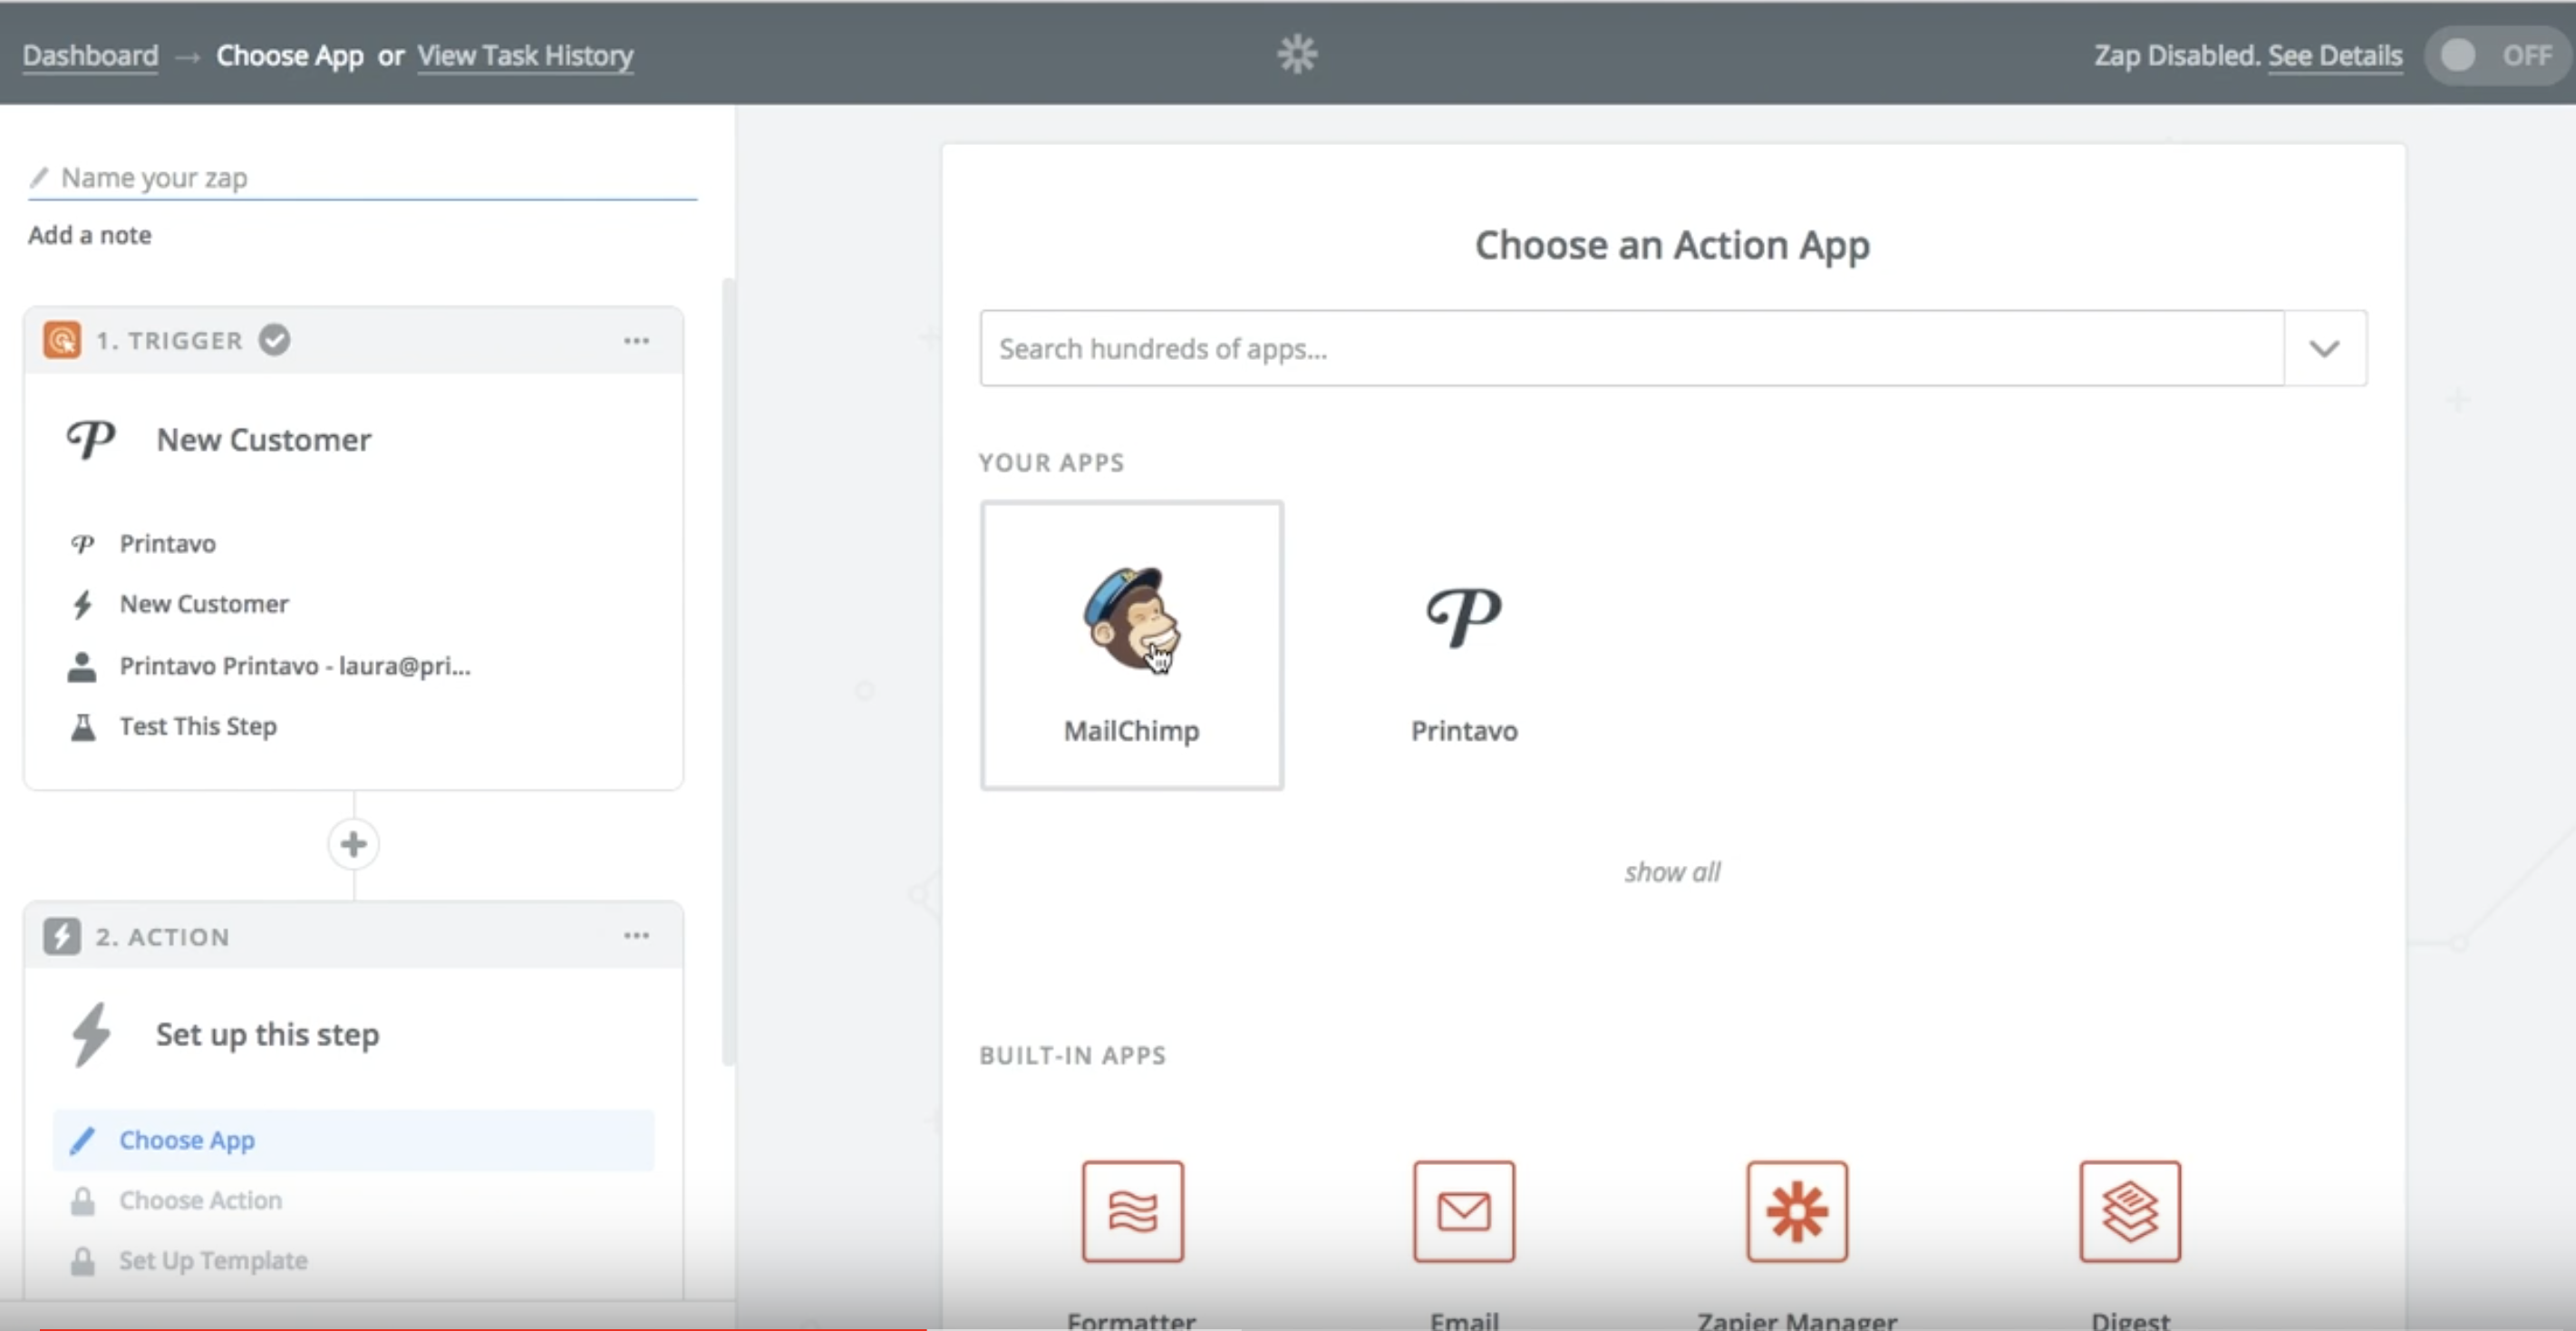
Step 4: Choose MailChimp as your action app
Zapier will send your Printavo data straight into MailChimp.
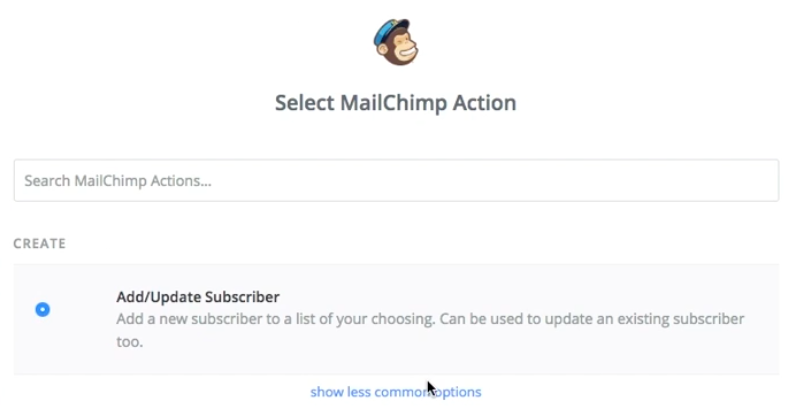
Step 5: Choose “Add/Update Subscriber” as your MailChimp action
This adds a new subscriber to your MailChimp account.
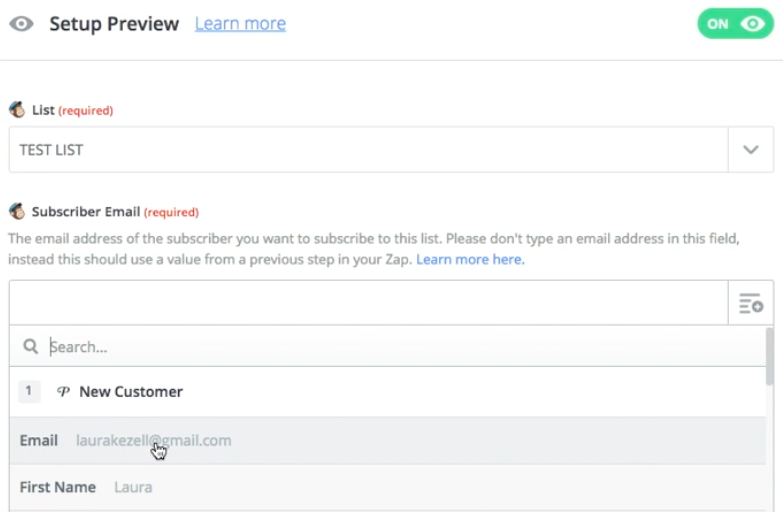
Step 6: Map the correct Printavo fields to the equivalent MailChimp fields
Select the data: choose the MailChimp List you want to add your customers to. Link your new customer’s email in Printavo to the MailChimp Subscriber Email field. Laura called her list “TEST LIST” and has selected the correct Printavo field to be linked to MailChimp in the picture below.
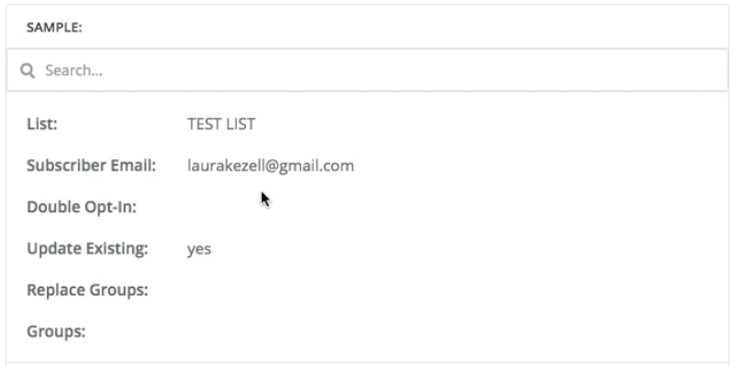
Step 7: Test it out!
Here’s what a successful sample looks like in Zapier:
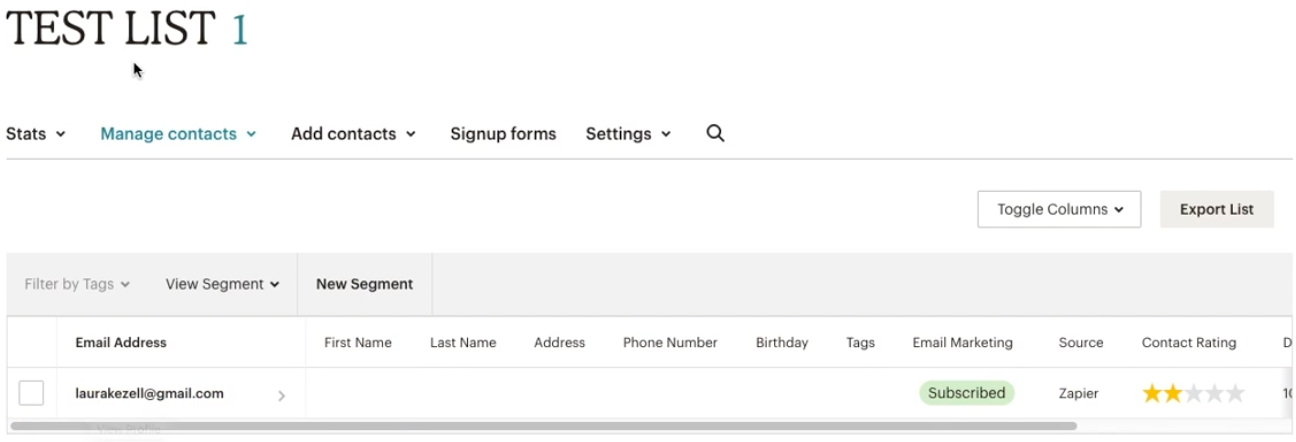
Refresh MailChimp and see if the Zap worked correctly. If it did, you’ll have something like this in MailChimp:
And when you open your list, it should look like this:
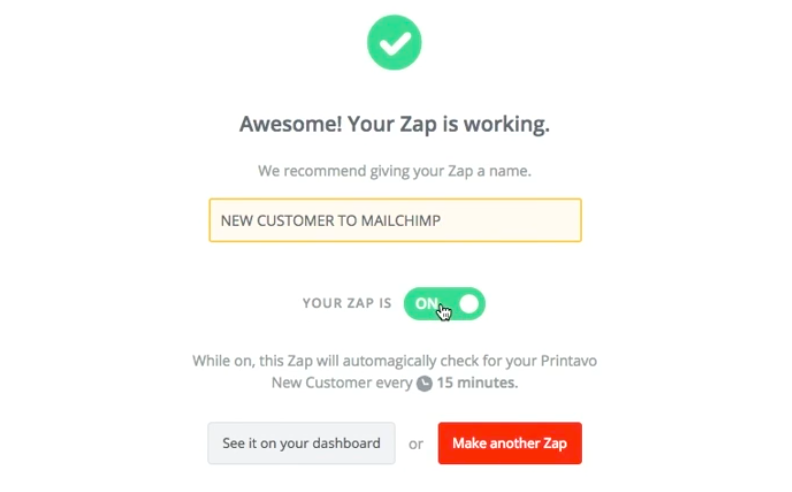
Step 8: Name your Zap & turn it on. Watch the emails go straight to MailChimp from your Printavo customers!
Automation of repetitive tasks? Glorious!
Now your newest customers will never miss an update from your shop
There’s always more help with setting up & using Printavo – as well as marketing and business advice from seasoned professionals – on our YouTube channel.



0 Comments